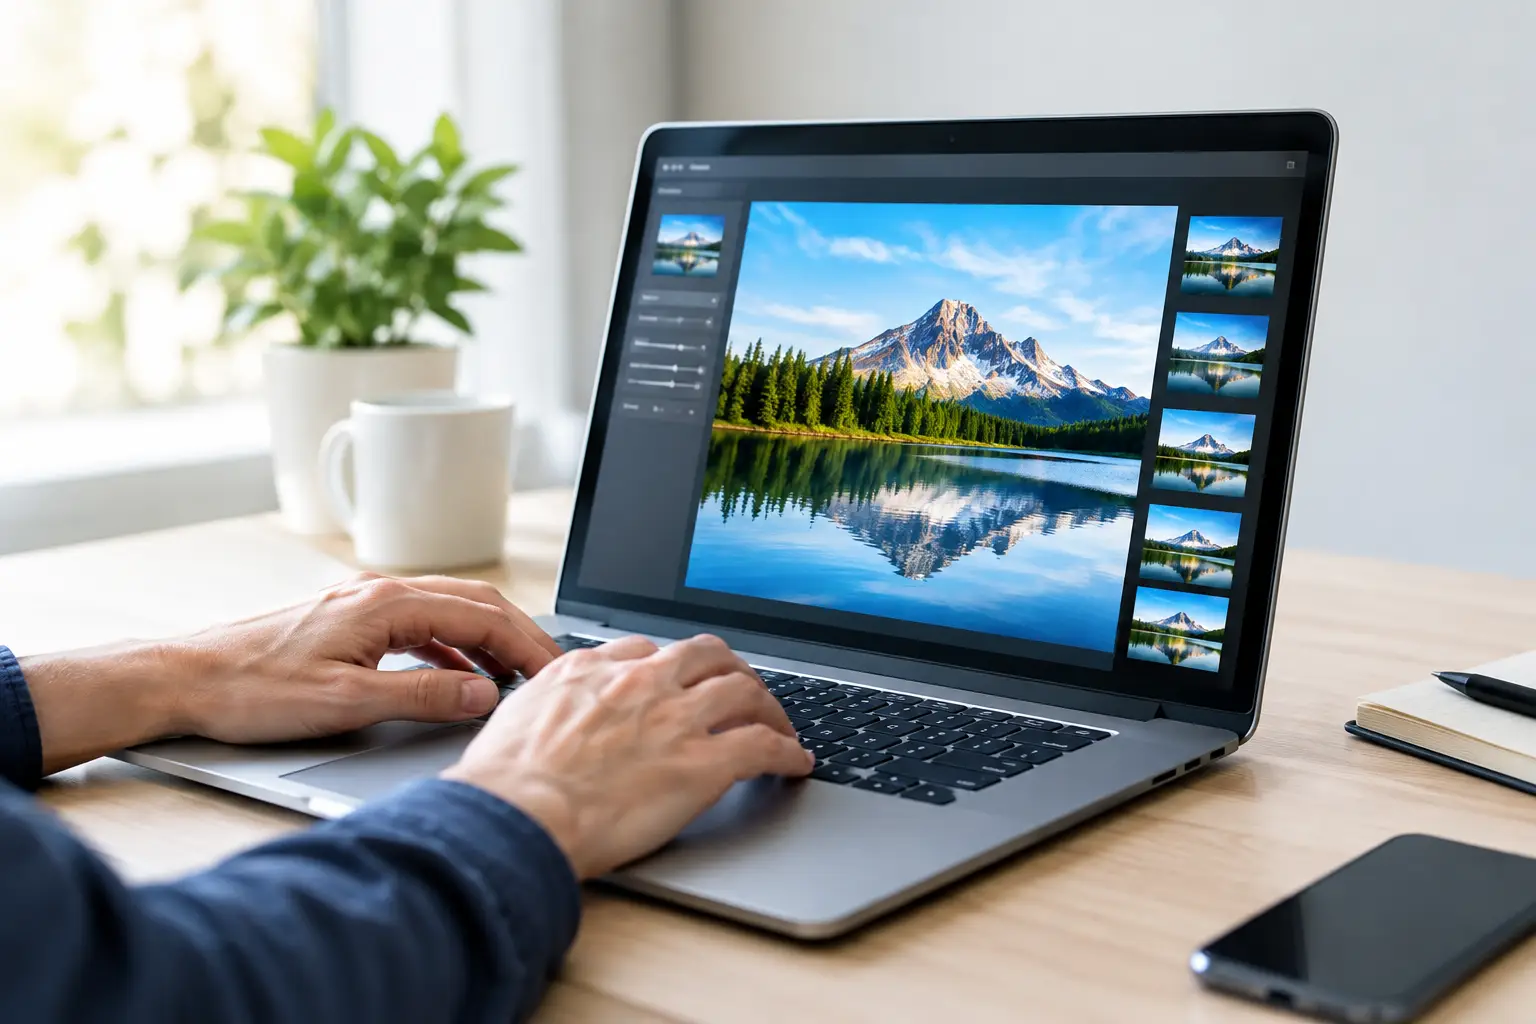
A homeowner looking for a local contractor may open your gallery on a phone while standing in their driveway. If the before-and-after photos take several seconds to appear, they may leave before seeing the quality of your work. To optimize images for websites is not simply a technical cleanup task. It protects the first impression that helps turn a visitor into a call, booking, or sale.
For many small businesses, images carry much of the website’s selling power. Product photos, staff portraits, project galleries, service-area visuals, and customer work all make a business feel credible. The problem starts when those same images are uploaded straight from a camera, phone, or design program at far larger file sizes than a website needs.
Why website image optimization affects business results
Large images are among the most common reasons a website feels slow. A modern phone can create a photo several thousand pixels wide and several megabytes in size. That is useful for printing a brochure or editing a high-resolution image, but it is usually excessive for a page viewed on a laptop or mobile device.
Slow pages cost attention. Visitors may abandon the page, especially on mobile data or weaker connections. A slow site can also make a business look less established, even when the actual service is excellent. Search visibility can suffer too, because page experience and loading performance are part of a healthy technical SEO foundation.
There is a balance to strike. Compress an image too aggressively and a kitchen renovation looks blurry, a product loses detail, or a professional headshot appears rough around the edges. Leave every image at full size and the site becomes heavy. The goal is to deliver the smallest practical file while keeping the image clear at the size customers actually see.
Start with the right image dimensions
Before choosing a format or compression setting, look at where the image will appear. An image shown in a content area that is 1,200 pixels wide does not need to be uploaded at 5,000 pixels wide. Extra pixels increase file weight without giving most visitors a visible benefit.
For large banner or hero images, a width of roughly 1,800 to 2,400 pixels is often enough, depending on the page layout. Standard content images commonly need 1,200 to 1,600 pixels. Smaller cards, thumbnails, and staff images can be much smaller. Retina screens complicate the calculation slightly because they can display more detail, but they do not justify uploading the original camera file every time.
Responsive websites should serve different image sizes to different screens. A phone should not have to download the same oversized image intended for a large desktop monitor. WordPress can create multiple image sizes automatically, but the original upload still matters. Starting with a sensibly sized file makes every generated version lighter and easier to manage.
Crop for the layout, not just the camera frame
Cropping is often more valuable than people expect. A wide photo might work well in a homepage banner, while a square crop is better for a service card. Using one image everywhere can force visitors to download more visual information than the layout needs.
A deliberate crop also keeps the important subject visible on mobile. If the focal point is a technician’s face, a finished product, or a key detail of a project, make sure it does not disappear when the image is resized for a narrow screen.
Choose image formats with a purpose
The file format influences both image quality and file size. There is no single best choice for every website image.
JPEG remains a sensible format for many photographs, especially when a site needs broad compatibility and straightforward editing. It handles color-rich photos well and can be compressed significantly. PNG is best reserved for images that need a transparent background, such as a logo or certain graphics. Using PNG for a large photograph often creates an unnecessarily large file.
WebP is usually an excellent choice for modern websites. It can deliver photographic images at a smaller file size than comparable JPEGs and supports transparency. AVIF can reduce file sizes even further in many cases, although the best approach depends on your website platform, image optimization tools, and browser support requirements.
For logos, icons, and simple illustrations, SVG can be ideal. It stays sharp at any size because it is vector-based rather than made from pixels. However, SVG files need to be handled carefully. Poorly sourced or unreviewed SVGs can present security concerns, so they should not be treated like ordinary image uploads.
Compress images before and after upload
Image compression removes file data that visitors are unlikely to notice. With photographs, this is usually lossy compression, meaning some image information is discarded in exchange for a much smaller file. The key is choosing a setting that preserves an acceptable visual result.
There is no universal quality number. A close-up product photo may need more detail than a background image with a dark overlay. Start by viewing the compressed image at the size it will display on the site, not only at 100 percent zoom in an editing program. If text, edges, faces, or important product details look damaged, increase the quality slightly.
Compression should happen in two places. First, prepare files before uploading them. This prevents your media library and backups from filling with oversized originals. Second, use a reliable website optimization process to create and serve lighter versions where appropriate. For WordPress sites, this can include automated compression, WebP or AVIF delivery, and responsive image generation.
It is worth checking the results after updates. A new page builder, gallery plugin, theme change, or e-commerce feature can change how images are loaded. What worked well on one version of a site may need adjustment later.
Use descriptive filenames and alt text
Image optimization is also an opportunity to improve search relevance and accessibility. A filename such as `IMG_4829.jpg` says nothing useful to a search engine, a content manager, or your future self. A filename such as `nanaimo-roof-repair-before-after.jpg` provides meaningful context.
Alt text serves a different job. It describes the image for people using screen readers and can be displayed when an image cannot load. Write it as a useful description, not a string of keywords. For example, “Technician repairing damaged roof flashing on a Nanaimo home” is more helpful than “Nanaimo roofing company best roof repair contractor.”
Not every decorative image needs alt text. If an image adds no information and exists only for visual spacing or atmosphere, it can be marked as decorative. For products, services, project images, and informational graphics, descriptive alt text is usually worthwhile.
Avoid the image habits that make sites heavy
The most damaging issue is often quantity, not one large photo. A homepage can become slow when it contains a full-width video-like slider, multiple oversized background images, an uncompressed gallery, and dozens of logos loaded at once. Each element may seem reasonable on its own, but together they create a poor mobile experience.
Be selective with image-heavy features. Carousels are a common example. They can look impressive during a design review, yet many visitors only see the first slide. One strong hero image and a clear message may perform better than five slides competing for attention.
Lazy loading can help pages with long galleries or product listings by waiting to load images until they are near the visitor’s screen. But the main image at the top of the page should usually load promptly. Lazy loading that image can delay the very content visitors came to see.
Caching and a content delivery network can also improve image delivery, particularly for businesses reaching customers beyond their immediate area. These tools complement image optimization, but they do not fix oversized files. Sending a 6 MB photo faster is still less efficient than sending a properly prepared 250 KB version.
Build image optimization into your regular website maintenance
The best time to optimize an image is before it becomes part of a page, product listing, or blog post. Create a simple process for anyone who updates the site: resize the image for its intended placement, choose the appropriate format, compress it, name it clearly, and add useful alt text.
Existing websites need attention too. Begin with high-value pages such as the homepage, primary services, online store categories, and portfolio galleries. Those pages often receive the most traffic and offer the quickest business benefit when loading times improve. Then work through older uploads as pages are refreshed.
For a business owner, the technical details can feel like another task competing with customers, staff, and day-to-day operations. That is why image performance belongs in ongoing website care, alongside backups, security updates, plugin checks, and monitoring. At Coastal Webmasters, we treat those details as part of keeping a professional website dependable over time.
A fast, clear image should make your work easier to trust, not make visitors wait to see it. Give each photo a job, prepare it for that job, and your website will feel more polished every time someone lands on it.